
NEW TO SKATE SHARPENING? LET'S GET STARTED!
What is skate sharpening?
Skate sharpening is the process of shaping the blade of an ice skate with a grinding machine to create two edges that are level, smooth and sharp. When used on the ice, the blade becomes dull / lose its edge, negatively affecting the skater's performance and increasing the risk of injuries.
Why sharpen?
- Sharpening improves performance.
- Provides better balance for skaters.
- Provides effective stopping, play making and direction changing.
- Assists with energy conservation and efficiency.
How often should you sharpen?
Hockey players and figure skaters should sharpen their skates approximately every 3-4 hours of ice time. Numerous factors come into play however, such as weight, skating style and ice condition. Skaters may experience difficulty in maintaining control or balance, indicating a need for skate sharpening.
Ultimately, individual skater needs and preferences determines the frequency of sharpening. Proper skate maintenance is key to optimal performance. Check blade edges for damage or dullness on a regular basis.
All about SKATE sharpening
Profiling is a term used to describe the shape of an ice skate blade where it makes contact with the ice viewing from the side. Other common terms for hockey skate profiling you may hear are rocker or contouring.
A hockey skate profile is measured as the radius of an imaginary circle illustrated below, typically in feet. If you were to draw a large circle with a 9-foot radius and then match the side profile of the steel to that circle, you would create a 9-foot radius profile on that steel. (see image below) Major manufacturers ship skates with profiles between 9’ and 13’ for player steel and 27’ to 50’ for goalie steel.
Blade profiles help determine your speed, agility, power and performance.
A smaller profile such as 8 to 9 feet is excellent for agility, quick starts and stops, and quick acceleration. The downside is that you bite more into the ice which creates more stress on your joints, it requires a deeper hollow and burns more energy keeping your speed. Glide is lost a smaller profile, so you must move your feet more to keep your speed up.
Player positions that benefit from a smaller profile are ones like defense players. Quickness and agility are very important.
With a larger radius of 11 to 13-foot, glide and speed are enhanced. The larger contact area on the ice makes you dig in less, requiring a shallower hollow to achieve your desired grip level. The downside to a larger profile is that you lose acceleration and agility.
Yes you can! Often different radius's are used at each end of the blade. This depends on the a variety of factors related to the player. Height, weight and position played are to be considered.
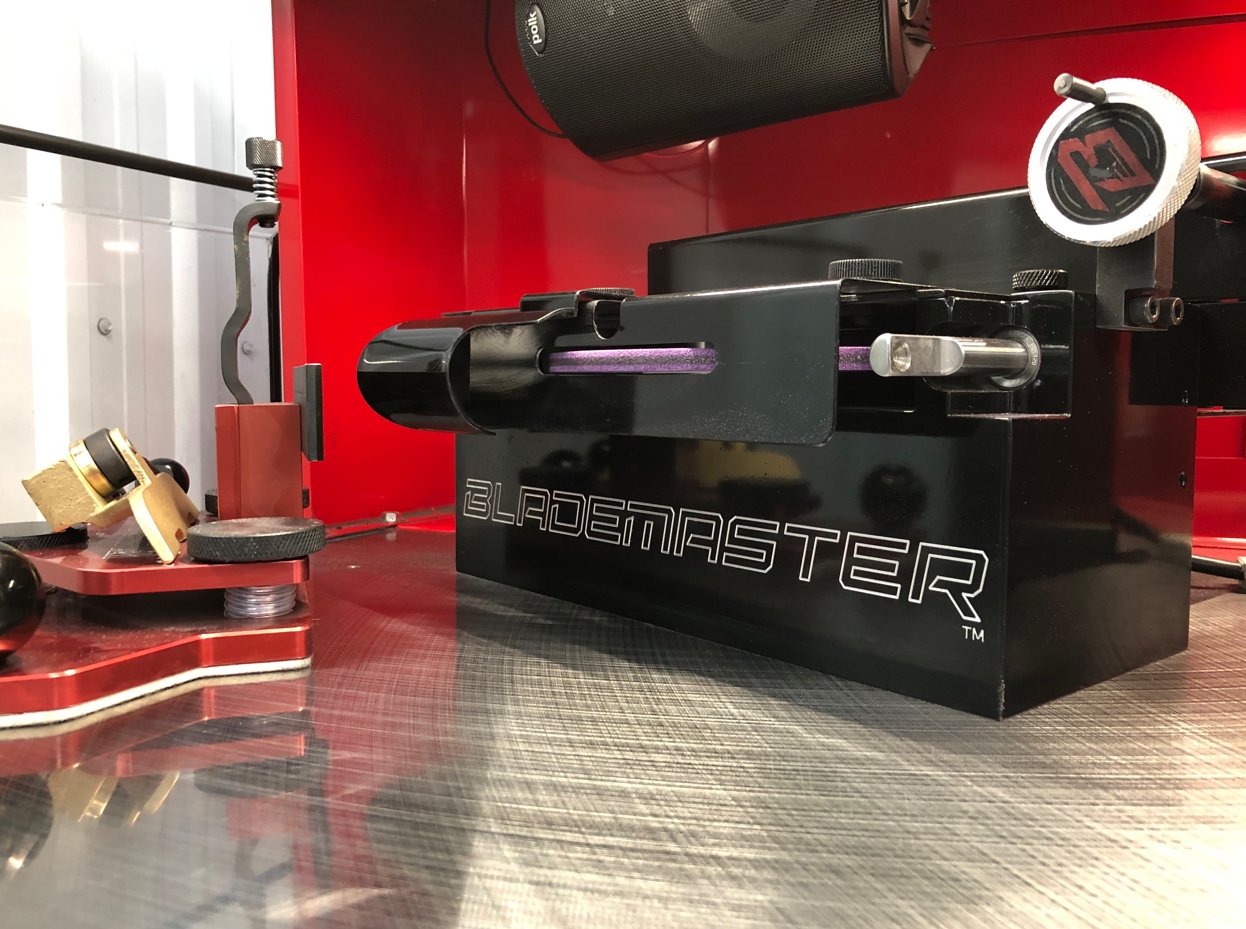
Blademaster Skate Sharpeners and Blademaster trained skate technicians are more than capable of creating your best blade profile!
On the bottom of those skate blades there are TWO sharp edges that are connected by a HOLLOWed-out region in between.
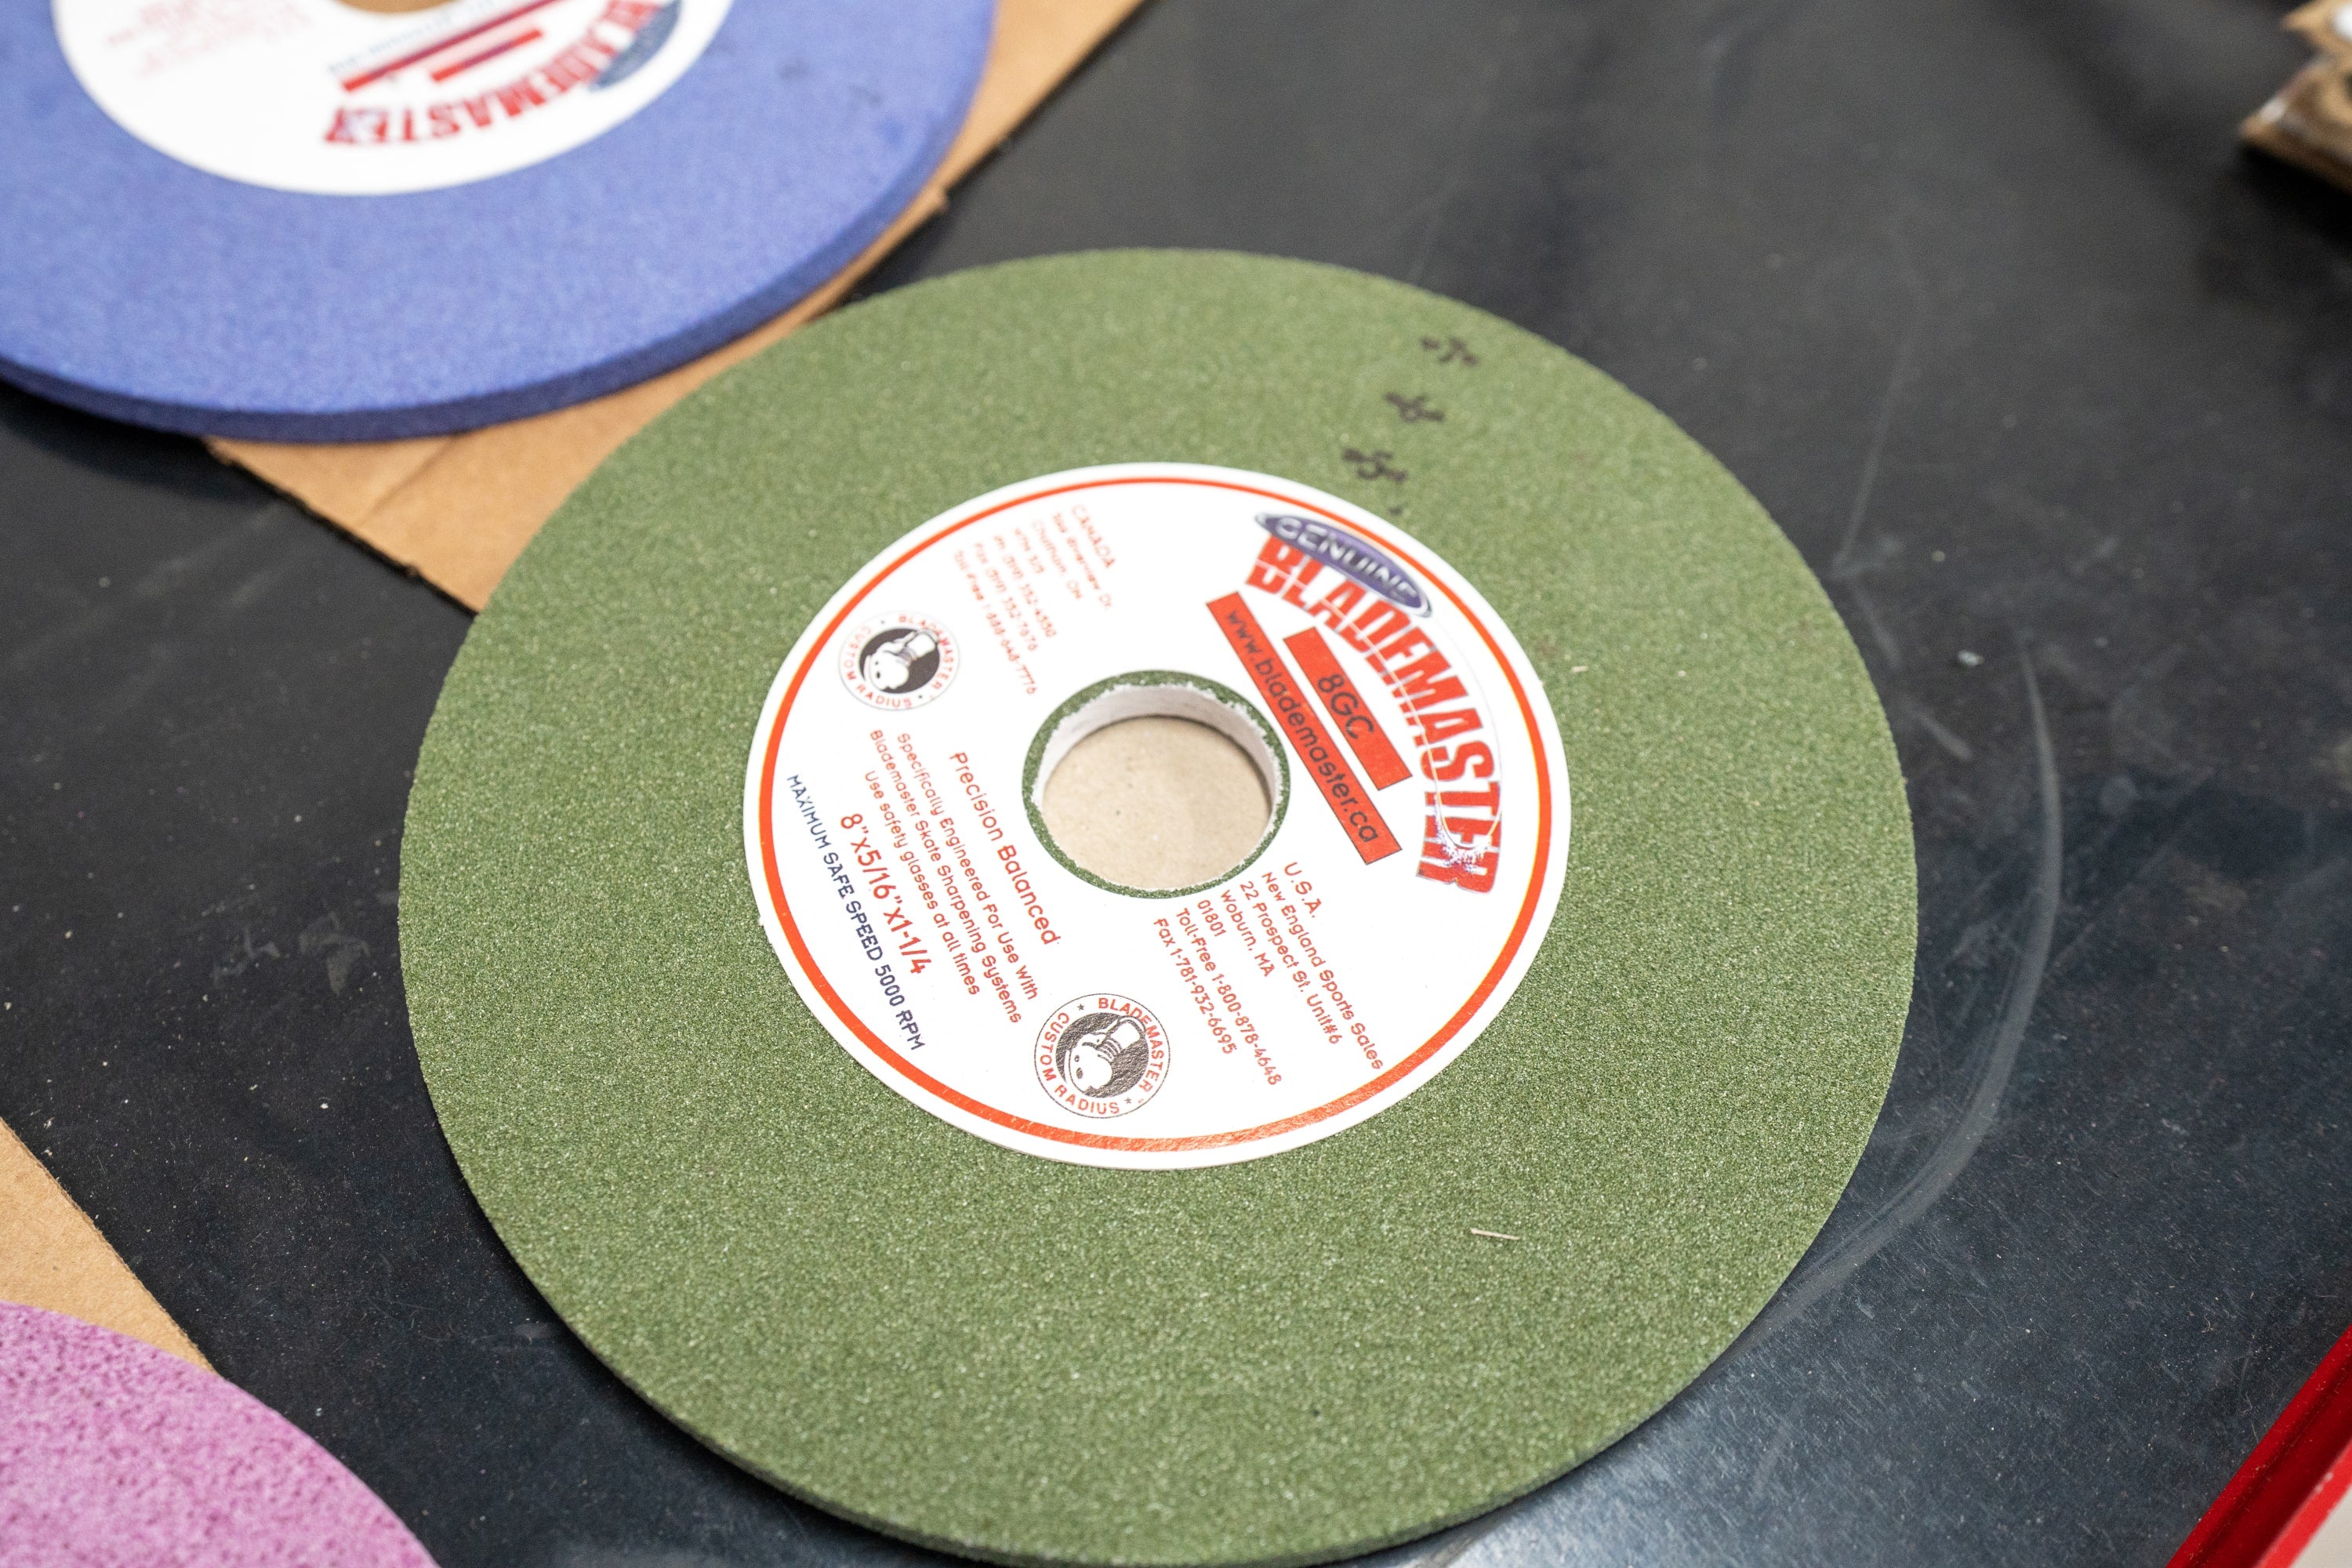
This hollowed-out region is created by passing the skate blade along a grinding wheel. The shape of the grinding wheel's surface will determine the size of the hollow on the skate blade. Then the size of the hollow on your skate blade will affect how the skate feels and performs on the ice.
Whether you are looking for more speed & glide or more bite & cut - Blademaster experts can help you find the right hollow for you!
As with skate blade profile, there are many factors to be considered when determining your best RoH or hollow. They include:
- player position
- player height & weight
- skating skill
- desired playing performance
Blademaster Skate Sharpeners and Blademaster trained skate technicians are more than capable of creating your best blade hollow!
Great question! Head over to our "How to know if I am getting a good skate sharpening" page.
Step 1
Step 1 – determine the skater’s hollow. Usually, you can locate this on the bottom of the skate boot. Some pro shops will use a sharpie and write the hollow on the underside of the cowling.
If you do not know the hollow, ask the following questions:
- What position does the person play?
- Do they lean forward or backward while they skate?
- Do they prefer more glide (flatter hollow) or more bite (stability in the heels – shallower,
less glide/more bite)?
Depending on their answer, you will make an educated guess on what hollow to dress your wheel.
Step 2
Make sure the steel is not bent. If there are bends in the steel, you will never achieve square edges. Butt a ruler up against the steel and hold up steel to the light. If there is light coming through, then you have found a bend and need to bend it back (carefully). Check the cowling to make sure there are not any plastic burrs that you will catch on the skate holder. If there are burrs, remove with an Exacto knife.
Step 3
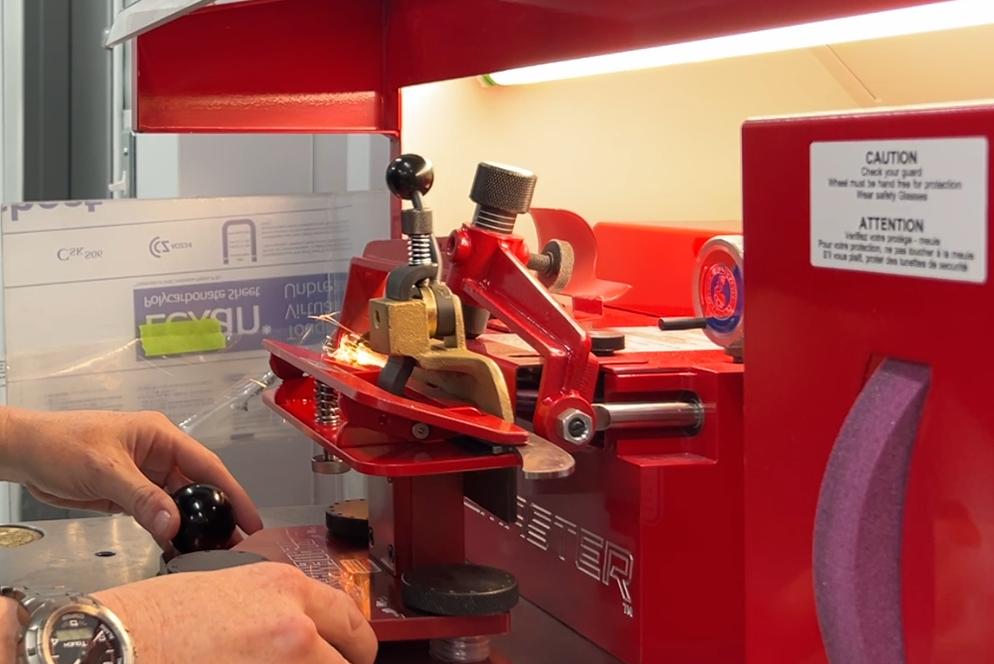
Dress your wheel to the correct hollow using the diamond quill and dressing arm. Your wheel is dressed when you see the red spark travel from the bottom of the wheel all the way to the top of the wheel and back down. Be mindful and look for this visual queue.
Step 4
Insert boot in skate holder. Insert skate in holder with the heel to the left, toe to the right. The runner should be pushed up against the anvil and the steel flush on top of the anvil. Make sure boot is perpendicular to your body and the tabletop before sliding on the clamp. Slide clamp onto the post with its arm facing the left. Pull the lever up to the 10 pm mark. It should sit on its own at the 10 pm mark. If it does not, tighten or loosen the top set screw on the post. When you find that 10 pm sweet spot, you should be able to bring up that lever to the 12 pm mark with two fingers. Be mindful not to overtighten! This will cause the steel to bend, and you will chase your edge squareness if you bend the steel.
Once installed, you can make up one or two cross grind passes on the steel to clean it up. This will allow you to remove any rust, imperfections on the steel from the last machine operator.
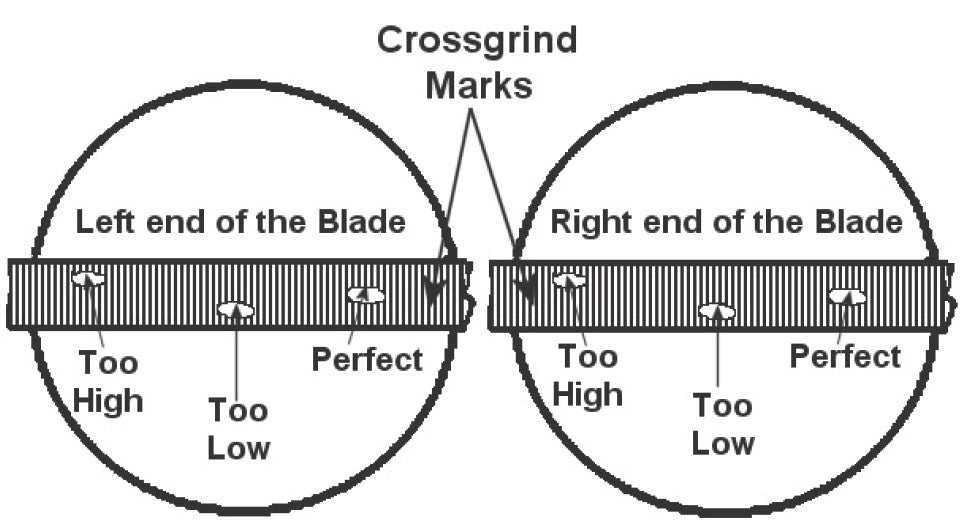
Step 5
Create witness marks on the blade to ensure that the holder is setup properly.
You should only have to do this when it is your first time back to the holder. Otherwise, different blade thicknesses will cause you to lower/increase the holder height using the left/right side dials.
Lightly touch the heel to the wheel, and then the toe to the wheel. It should look like this:
If your marks are reading too high, then you need to adjust the holder up. If your marks are reading too low, then you need to adjust the holder down. Repeat this process until you have found the center. Once you have found the center, you are all set to start sharpening.
Step 6
Once the holder has been adjusted to the center, make 3-4 passes, and then check to see that your radius has reached all the way to the edges of the blade. If it has not reached all the way through (you will still see the old edges along the steel), continue to sharpen. On average it takes 6-10 passes to complete depending on how heavy-handed you are with the holder.
CAUTION --When checking your blade anytime in the sharpening process do not use your skate to pick up the skate and holder to inspect the sharpening -- always use the clamp arm and place your other hand on the bottom of the holder.
If the radius looks good, you are ready for the final pass.
Step 7
Apply the Gusto glide oil.
Apply two passes of Gusto Glide TSM4030 on the skate blade and then make one final
slow pass on the grinding wheel to give a smooth mirror-like finish on the blade.
Step 8
Hone the blade. Remove skate from holder and stone both edges of the blade (Make sure to keep stone flat on blade to remove burrs from sharpening. If not the stone on an angle could remove newly sharpened edge).
Step 9
Check your edges. Using one of our BR-series gages check to make sure you have square edges.
The recommended tolerance is one (1) line above or below the center line. If your sharpening exceeds that, adjust the skate holder, and re-sharpen the blade.
Wipe the blade clean with a towel and place the skate on a rubberized surface to protect the skate from any damage until ready for use.
IMPORTANT! Do not hone carbon steel (black steel). If you do, it will scratch it up and patrons will get upset. If you insist on honing it, use a rubber hone (part number RUBRHONE) or wipe it carefully on a towel or doubled-folded shop towel.
Step 10
Repeat on the next skate!
Should you have any questions, please do not hesitate to contact Blademaster at toll free 1-888-648-7776 or email us at guspro@guspro.com.
DOWNLOAD these instructions in pdf
Download our Skate Sharpening 101 PDF for reference!
Ready for more advanced info?
Download our Skate Sharpening for Pros pdf for future reference!